Phase Description:
Connect the charge control circuit from Version_1 to solar Module instead of the power supply.
Phase Supplies:
components :
- the installed circuit from version 1
- Solar Wavers (0.2A / 0.5V)
-plastic Waver
-paper
Tools:
-Solder Wire
-Soldering Iron
-Cutter
-Multimeter
Phase Steps:
-Solar module Manufacture & Design :
1-get basic Solar Wavers (0.2A / 0.5V)
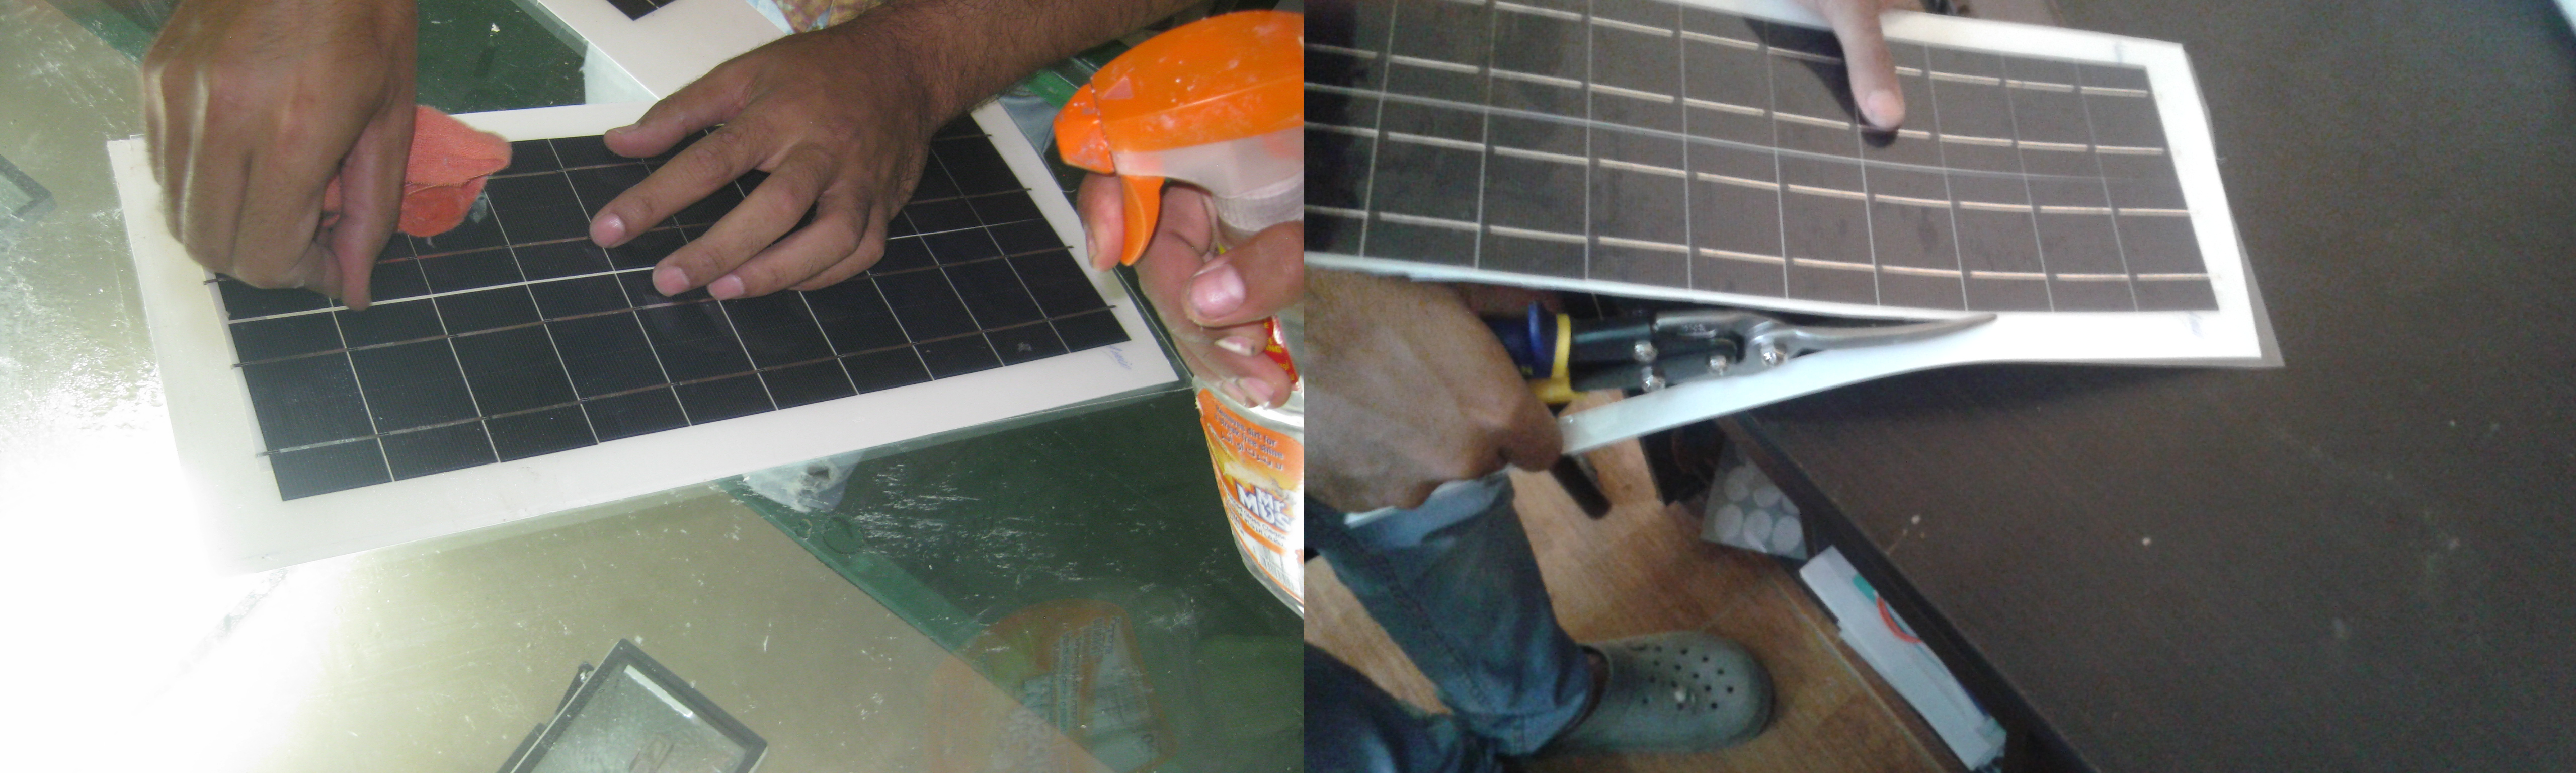
2-We start welding wavers with each other by using (Solder Wire-Soldering Iron) to get our desired voltage and Ampere (Watt)

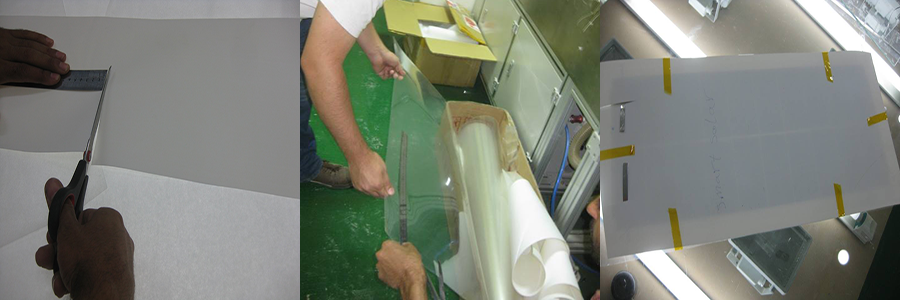
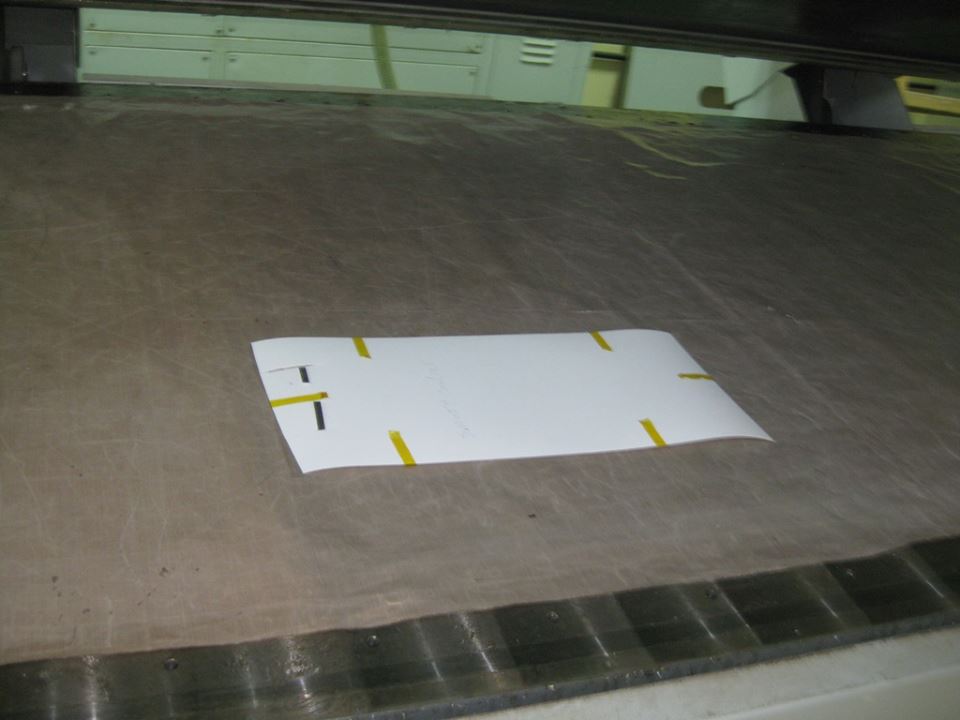
3-cutting a paper then plastic waver with the total length and width of the module to install the module.
4-test the Voltage output from the Solar Module.

5-Put the solar cell into the oven then oven opens automatically when it is done.
6-cleaning the module & finalizing its outer border.
2nd version complete
-Installing the same circuit in 1st version with the manufactured solar cell instead of the power supply.

the mobile started to charge then 2nd version is complete!!